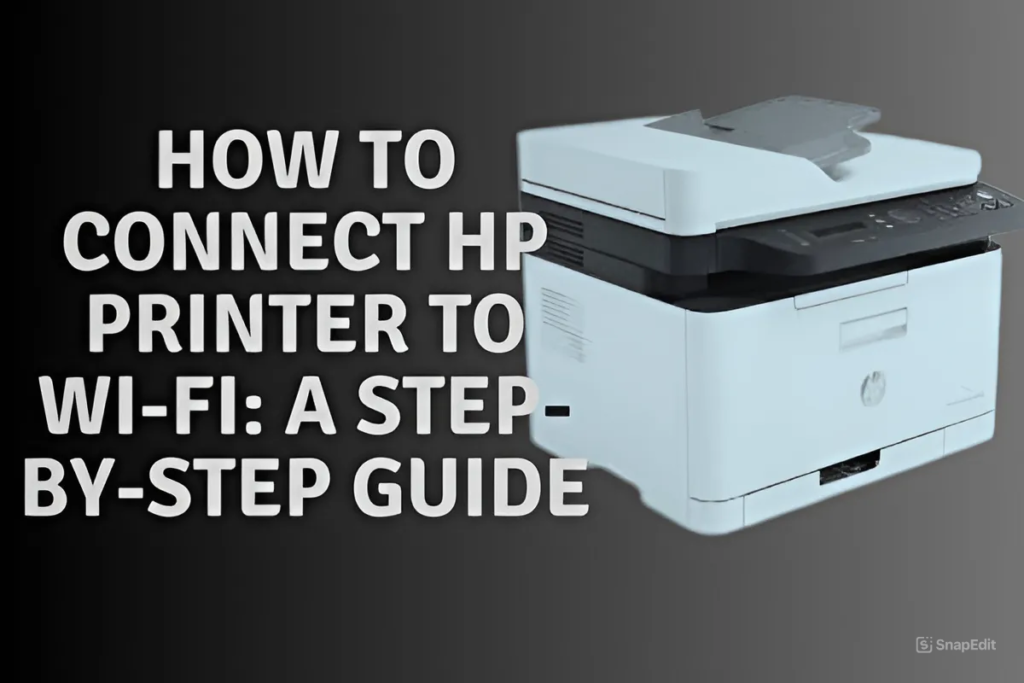
Connecting your HP printer to Wi-Fi can make printing tasks more convenient and efficient. Whether you’re using a home network or an office setup, this guide will help you connect your HP printer to Wi-Fi seamlessly.
Table of Contents
ToggleStep 1: Prepare for the Connection
Before you start, ensure:
- Your Wi-Fi network is active and working.
- You know your Wi-Fi network name (SSID) and password.
- The HP printer is powered on and within the Wi-Fi range.
Step 2: Connect Using the HP Auto Wireless Connect
- Turn on your HP printer.
- Navigate to the Control Panel: Press the wireless button or go to the wireless settings menu.
- Select ‘Wireless Setup Wizard’: This option is available on touchscreen models.
- Choose Your Network: From the list of available networks, select your Wi-Fi network.
- Enter the Wi-Fi Password: Input the password carefully to avoid errors.
- Confirm the Connection: The printer will attempt to connect. Once connected, the wireless light will remain solid.
Step 3: Connect Using WPS (Wi-Fi Protected Setup)
If your router supports WPS:
- Press the WPS button on your router.
- Within two minutes, press the Wireless button on your printer.
- Wait for the Connection: The printer will connect automatically. The wireless light will stop blinking once connected.
Step 4: Install HP Printer Software
Download the HP Smart App: Available on HP’s official website or your device’s app store.
Add Your Printer: Open the app, click on ‘Add Printer,’ and follow the on-screen instructions.
Complete the Setup: The app will detect your printer and finalize the Wi-Fi connection.
Troubleshooting Tips
- Restart your router and printer if the connection fails.
- Check for firmware updates on the HP website.
- Ensure there are no obstacles between the printer and router.
- Double-check the Wi-Fi password for accuracy.
hi
good
nice
👍🫵
🫵👍